Thursday, August 30, 2012

Photoshop Tutorials: How to Create a Vintage Postcard in Photoshop

Photoshop Tutorials: How to Create a Vintage Postcard in Photoshop

Link to Photoshop Tutorials

How to Create a Vintage Postcard in Photoshop

Posted: 29 Aug 2012 07:49 PM PDT

Video Tutorial


Download the PSD

Postcard.zip | 25.4 MB


Wednesday, August 29, 2012

Photoshop Tutorials: Freebie: 24 Seamless Bokeh Textures

Photoshop Tutorials: Freebie: 24 Seamless Bokeh Textures

Link to Photoshop Tutorials

Freebie: 24 Seamless Bokeh Textures

Posted: 28 Aug 2012 02:22 PM PDT

Bokeh Texture Examples


How to Use

The quick way – Place as Smart Object:

  1. Open the image that you want to add bokeh textures to.
  2. Go to File > Place. Pick the bokeh texture you want to use then click OK.
  3. Change the blending mode of the bokeh layer to Screen or Linear Dodge.

The better way – Place as Pattern

  1. Inside Photoshop, open the Bokeh texture that you want to use.
  2. Go to Edit > Define Pattern. The image is now saved as a pattern in Photoshop. Close the bokeh image without saving.
  3. Open the image that you want to edit.
  4. There are several ways to use Photoshop patterns and the easiest is to add a Pattern Fill adjustment layer. Go to Layer > New Fill Layer > Pattern. The Pattern Fill window will open – just click OK for now.
  5. Change the blending mode of the pattern fill layer to screen.
  6. Double-click back on the Pattern Fill layer to edit it. With the Pattern Fill window opened, click and drag the canvas to move the position of the bokeh. Adjust the scale setting to your likings. Click OK to apply the changes. Because these textures are seamless, you can move and reposition the texture any way you like.

Download Bokeh Textures

24 Seamless Bokeh Textures


400 Seamless Bokeh Patterns


Tuesday, August 28, 2012

Photoshop Tutorials: Create a Photo Manipulation of an Angel Holding a Torch

Photoshop Tutorials: Create a Photo Manipulation of an Angel Holding a Torch

Link to Photoshop Tutorials

Create a Photo Manipulation of an Angel Holding a Torch

Posted: 27 Aug 2012 01:27 PM PDT

Preview of Final Results

final-results

Angel Torch Photoshop Tutorial


Resources


Step 1

Create a new canvas with the dimensions Width=1859px and Height=3860.

1


Step 2

Import the image of the Woman on to the canvas and create a mask around her body. Select the mask around the hair very roughly as shown. Then separate the selection into a new layer.

22-1


Step 3

In this step we are going to us the Refine Edge Tool to mask out the hair of the women with every detail.

  1. Select the mask around the woman as shown using the Magic Wand Tool (W).

3

2) Now select the Refine Edge from Select>Refine Edge and select the On Black (B) from the View drop down list for a better view of the edge details.

3-1

3) Now by using the Refine Radius Tool graze the edges of the hair and select New Layer from the drop down list of ‘Output To’ and press OK to see the magic of the tool.

3-2


Step 4

In this step we are going to color correct the image of the women.

  1. With the women layer selected go to Image>Adjustments>Curves and set the Red and Blue curves as shown.

4

2) Now by using the Hue/Saturation De-Saturate the image to -31.

4-1

3) To enhance the dark shadows on the women go to Image>Adjustments>Exposure and set the Exposure=-0.19 and Gamma Correction=0.86.

4-2


Step 5

In this step we are going to create a tree bark in such a way to illustrate the women evolving from it.

  1. Import the image of the Bonsai Bark and mask out the bark into a new layer using the Lasso Tool (L).

5

2) Now import the bark on to the working canvas and place it on the legs of the women as shown. Then erase the top end of the bark with Soft Round Brush.

5-1

3) Similarly import the bark again and complete the bark as shown.

5-2


Step 6

Since the woman is evolving from the bark we must show the semi evolution effect at the point of evolution.
-Create the shadow line of the leg on to the bark as shown. This creates an illusion of the fold on the bark that is caused during the evolution of the women.

6


Step 7

Now we need to color correct the bark in-order to blend with the women.

1) Merge the entire bark layer and go to Image>Adjustments>Hue/Saturation and de-saturate the image to -58.

7

2) Nowby using the Exposure Set Exposure=-0.08 and Gamma correction=0.78 to enhance the shadows on the bark.

7-1


Tuesday, August 21, 2012

Photoshop Tutorials: How to Create an Underwater Abstract Art in Photoshop

Photoshop Tutorials: How to Create an Underwater Abstract Art in Photoshop

Link to Photoshop Tutorials

How to Create an Underwater Abstract Art in Photoshop

Posted: 21 Aug 2012 07:00 AM PDT

Preview of Final Results

Depth: Underwater Photomanipulation Photoshop Tutorial


Resources


Step 1 – Creating a new file

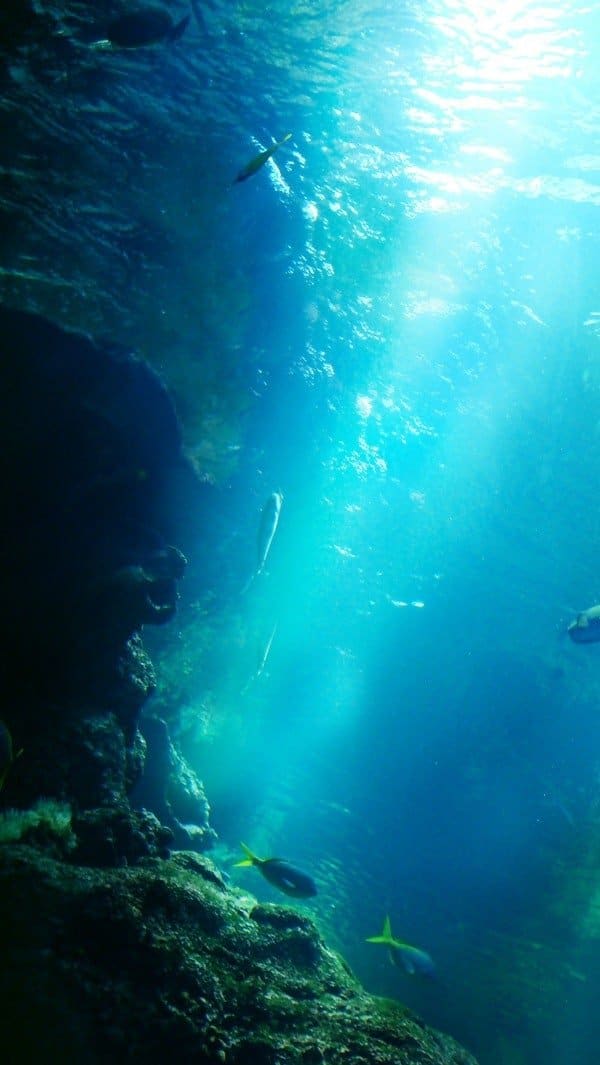
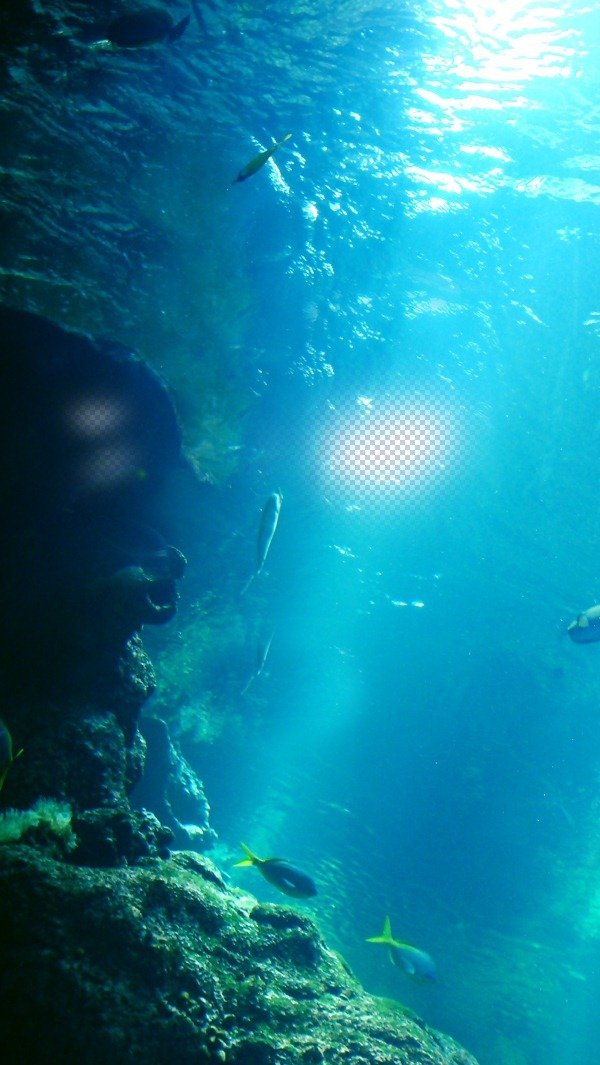
Before creating anything you should visualize a concept which will be the basis of the piece, sort of like jotting down the main points before writing a full length essay. We usually start with the bottommost layer, which is the background. The background used here can be found through the link above (thank you Bakanekonei).

And it’s always the best to keep the resolution as high as possible. So don’t bother changing the image size.

02 image size


Step 2 – Erasing unnecessary parts

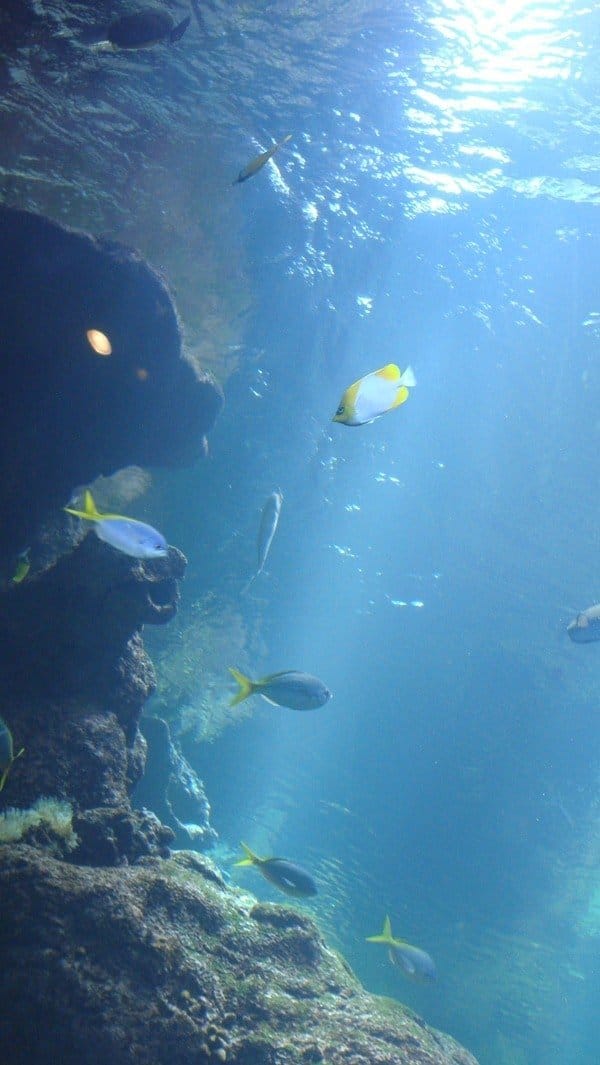
The next thing we’re going to do is to slightly alter the background, so that it fits our concept. What we want to is shift the focus onto one subject, that is the C4D piece we’ll deal with later. But you’ll realize that the fish swimming around and the glowing eyes of the lion seem to steal the attention away.

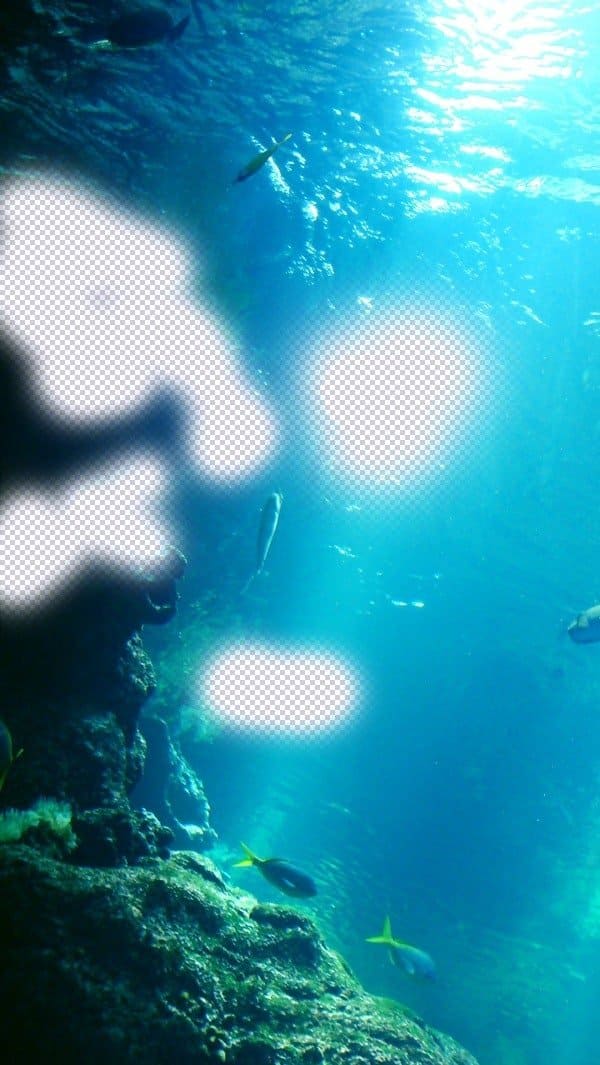
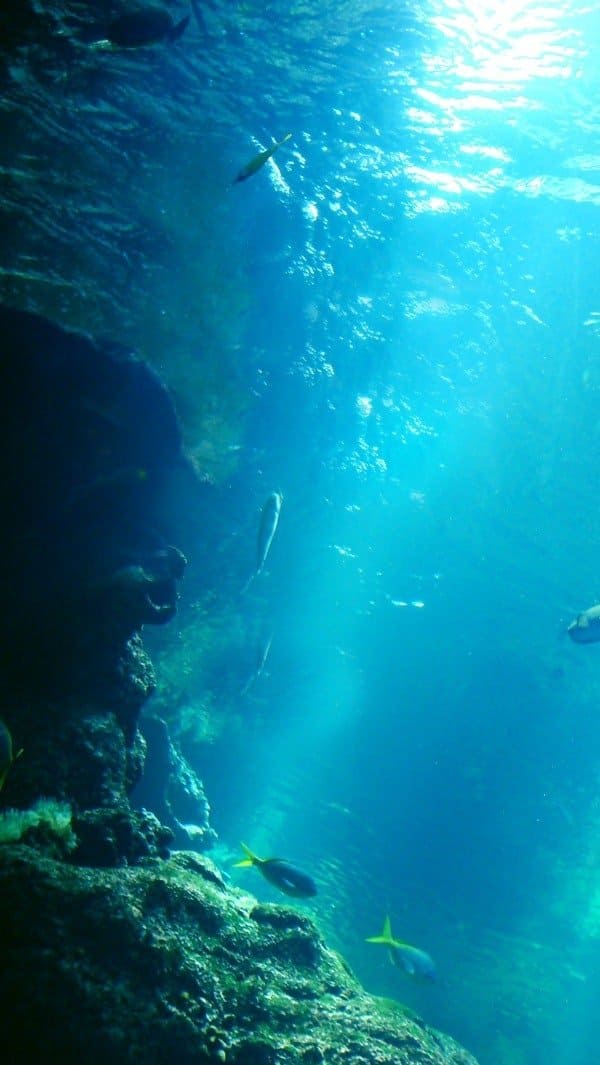
So what we do is erasing parts that will possibly steal the attention and keep the background simple.

For simplicity, I’ll be using the default soft brush to do all the erasing in this tutorial.

03 brush

Like this.


Step 3 – Vector Mask

Try to use vector mask because you can undo easily in case you wrongly erase. Click on the button (cicrcled in red) below the layers to create a vector mask.

Then, use a black default soft brush to erase. To undo the erasing, just use a white soft brush and brush over the background. While doing this, make sure you’re selecting the vector mask in the Layers panel, not the layer itself (which shows your image). The vector mask is the one on the right. But it’s alright to do it the traditional way, which is what I do too.

04 vector mask


Step 4 – Duplicating and Adjusting Background

Now duplicate the layer (Ctrl+J) and place it below the main background. Move the duplicated layer around so that both layers blend together well and appear to be as one.

Repeat the step if necessary.

Tada!!


Step 5 – Contrast

Next we’ll want to enhance the contrast of the background. You can use Curve or Levels to achieve similar result, but for the sake of perfection we’ll do it manually.

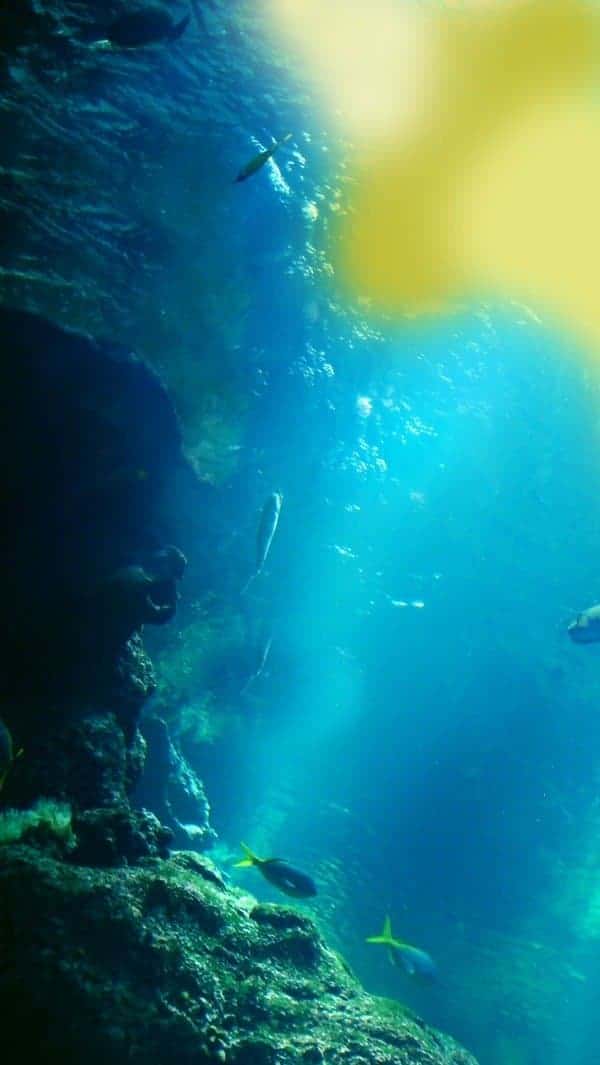
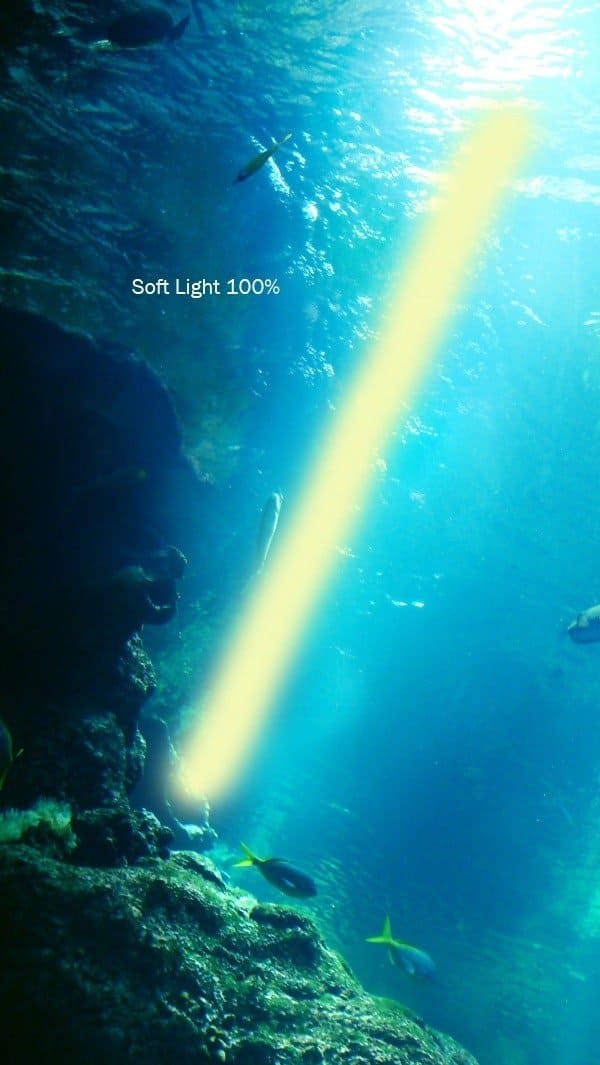
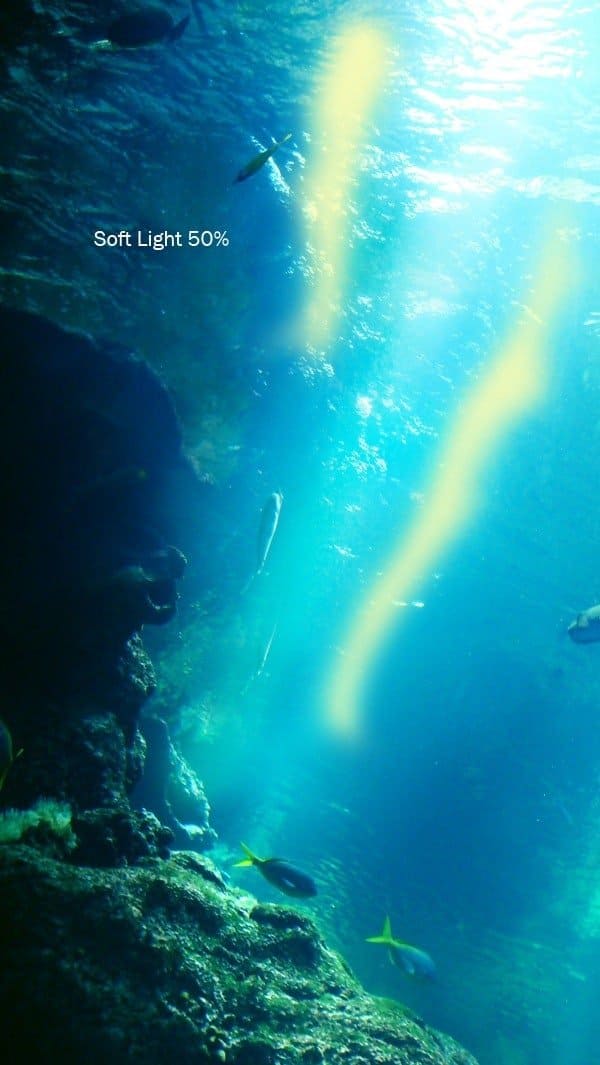
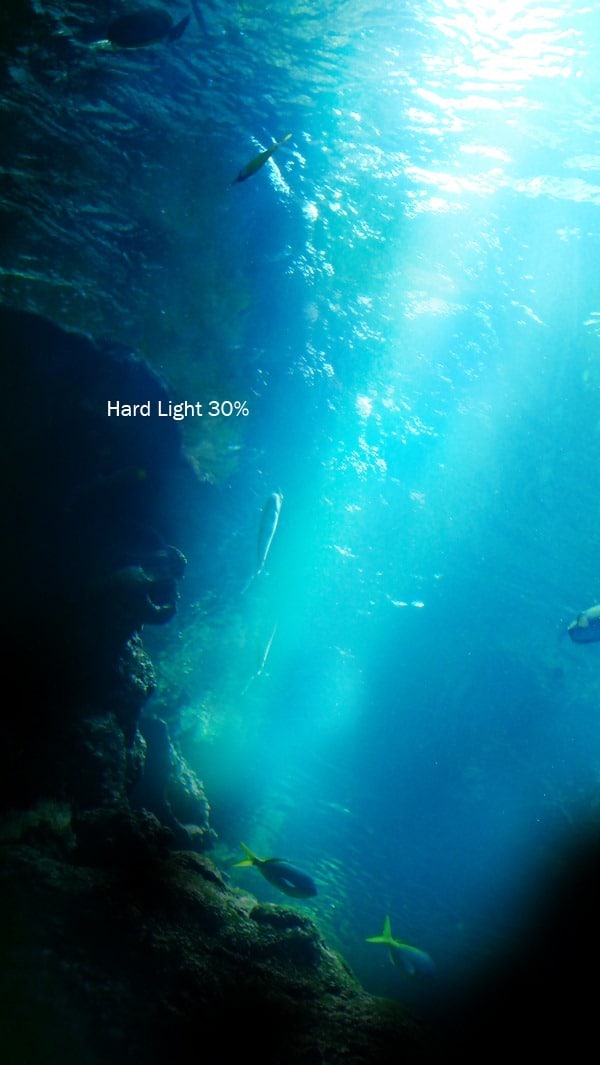
Select a bright yellow shade, use a soft brush to brush it around the top right corner, and set the layer to Soft Light (picture shown at Normal for clarity). We want to accentuate that ‘streak of light’ shining from above.

07

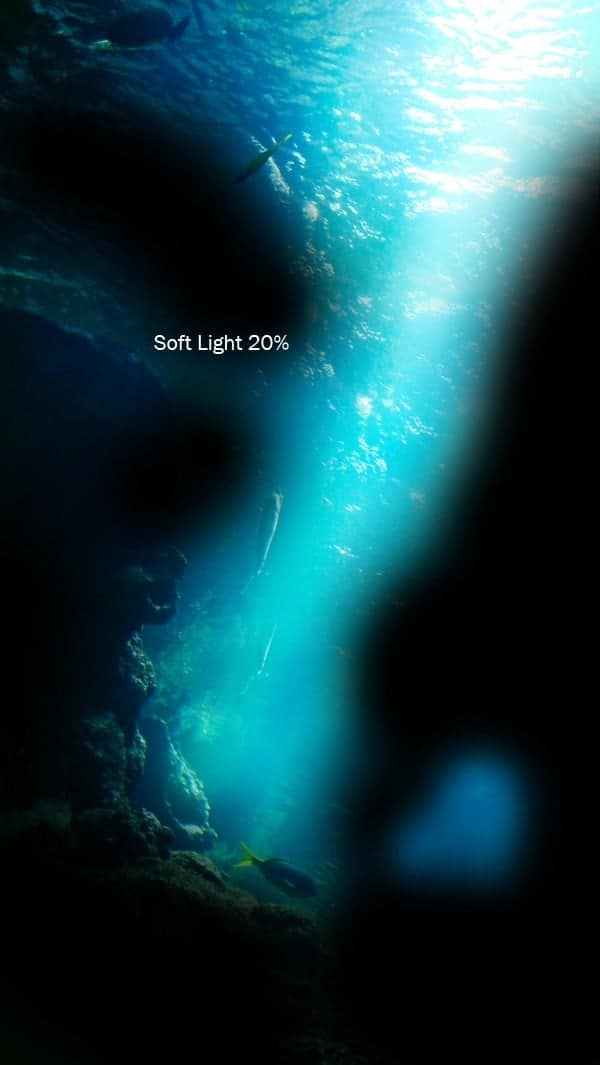
Repeat the above with black soft brush, and set it to Soft Light Opacity-25%.


Step 6 – Brightening the background

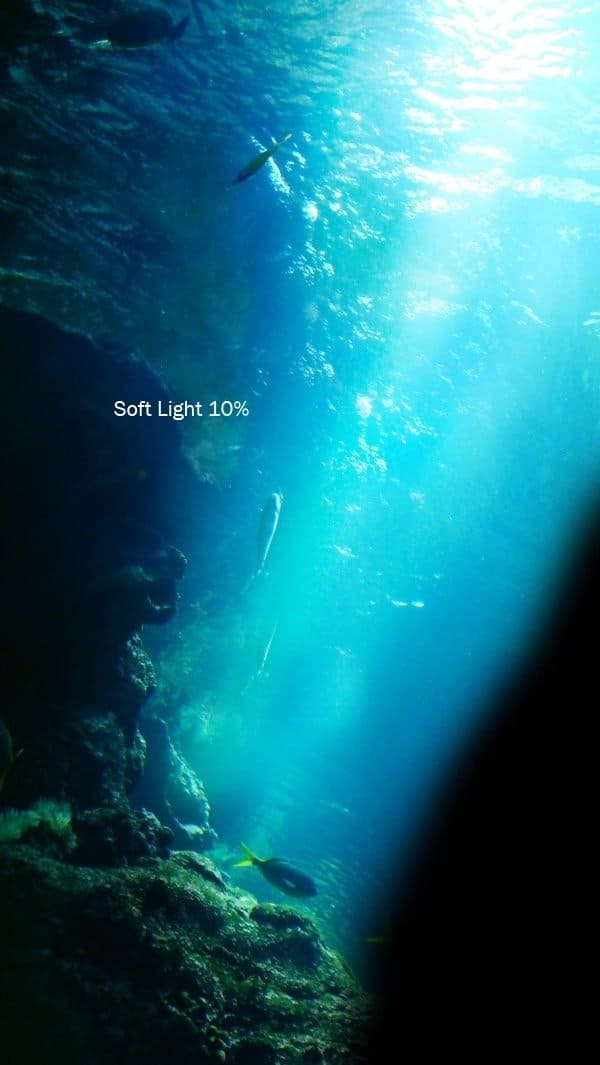
Continue doing the same for several layers until you’re satisfied. Use mostly soft light and low opacity for more layers instead of high opacity for fewer layers. Alternate between white and different shades of yellow. This requires a little patience, but nevertheless fun.


Step 7 – Darkening the background

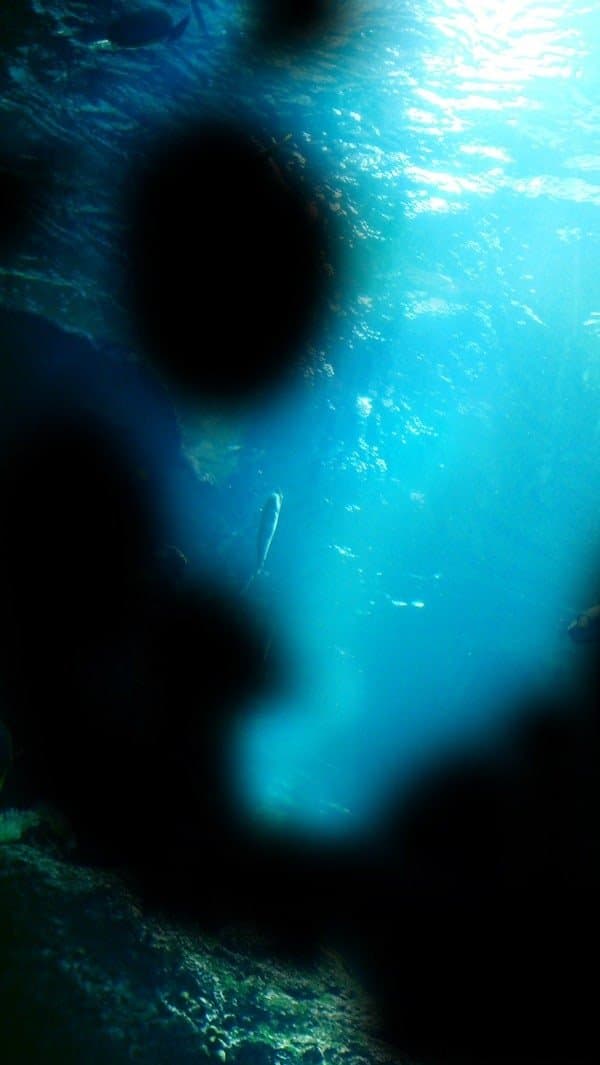
Darken the surrounding by using a black soft brush with the same technique.

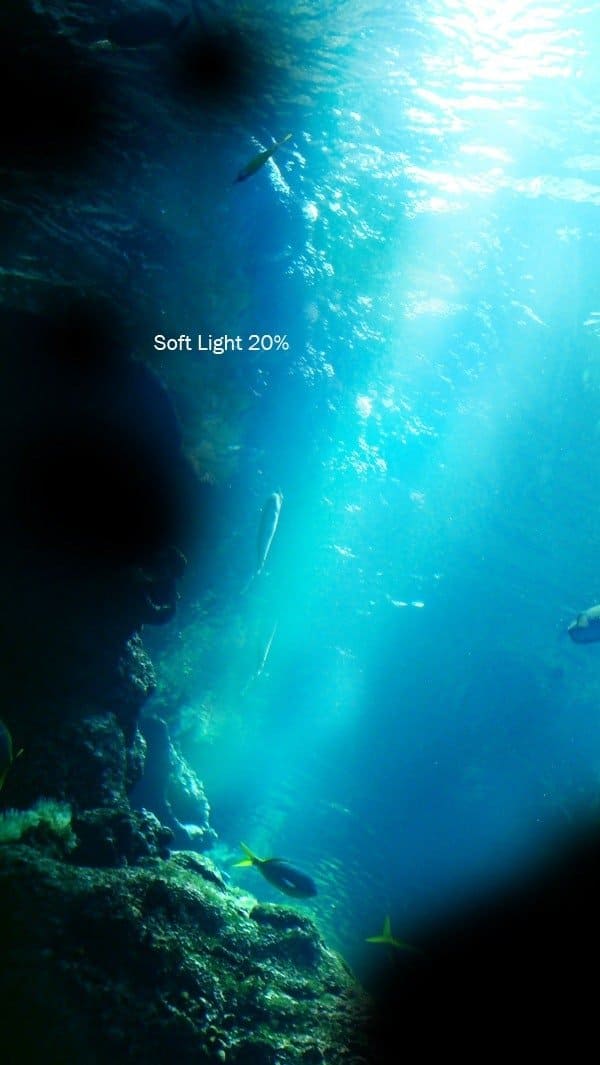
At the end of it you should have something more refined like this.