Photoshop Tutorials: Create a Poster Inspired by the Movie “The Bourne Legacy” plus 1 more |  |
| Create a Poster Inspired by the Movie “The Bourne Legacy” Posted: 18 Aug 2012 03:00 AM PDT Preview of Final Results
The Bourne Legacy Movie Poster Photoshop TutorialTutorial Resources
Step 1Start by opening the photo into Photoshop. To open an image, go to File > Open. If you'll be using the same image we used, we recommend downloading the highest resolution image because we will be cropping it in the middle of the tutorial.
Step 2Right-click on the layer then click Convert to Smart Object. This will convert the layer into a Smart Object which lets us manipulate the image non-destructively.
Step 3Before we start, we're going to add a black layer below the photo layer. To do this, go to Layer > New Fill Layer > Solid Color. Select black as the color then click OK.
Step 4In the Layers palette (Window > Layers), drag the Color Fill layer to the bottom. Rename the top layer to Photo and bottom layer to Background. To rename a layer, double-click on the text of the layer you want to rename.
Step 5To begin, we'll add a gritty photo effect with adjustment layers and filters. Start by adding a Black & White adjustment layer (Layer > New Adjustment Layer > Black & White) then change the blending mode of this layer to Overlay. Feel free to play around with the settings in the Properties panel (Window > Properties). This is an easy way of adding a grungy lighting effect and you can try it with your other photos.
Step 6Next, add a Vibrance adjustment layer (Layer > New Adjustment Layer > Vibrance). Reduce vibrance setting until it just has a hint of color.
Here's what our image looks like after reducing the vibrance setting.
Step 7The adjustment layers gave it a grungy lighting effect but it also hides the detail and makes the background even darker. We don't want to the photo to be too dark because it can blend in with the black background and make the stripes not very visible. To fix this, we're going to apply a Shadows/Highlights adjustment. In the Layers panel, select the Photo layer then go to Image > Adjustments > Shadows/Highlights. Set the shadows to around 35% and highlights to around 15% then click OK.
If you look in the Layers palette, you can see that the adjustment was applied as a Smart Filter. This is because in Step 2, we changed the layer into a Smart Object. The benefit of using Smart Filters is that you can change the settings at any time without undoing a bunch of steps.
Step 8Next, we're going to add some grain to the photo using the Add Noise filter – which will be applied as a Smart Filter just like the previous step. Make sure you have the Photo layer selected then go to Filter > Noise > Add Noise. Checkmark the Monochromatic option then adjust the settings so that you get an effect like shown in the image below. Click OK to add the noise.
Step 9Next, we're going to crop and rotate the image. Select the Crop tool (C) then in the options bar, disable the "Delete Cropped Pixel" option. This will let us uncrop or make adjustments to the crop at any time.
Crop the image like shown in the image below. We also rotated the image so that the eyes are more horizontally aligned. This is important because when we add the stripes, we want to ensure that the eyes are visible and don't tilt off the top or bottom edge of the stripes.
Step 10Now we're going to add some text to the image. We're doing this first so that we know where to place the stripes later. In the Layers palette, select the top layer so that when you add the text, they all appear above the top layer. Select the Text tool then add some text around the image with each line of text in their own layer. The font used below is Arial.
Step 11Select all the text layers (hold CTRL to select multiple layers) then add them to a group (Layer > Group Layers or Ctrl+G). Rename the group to Text.
|
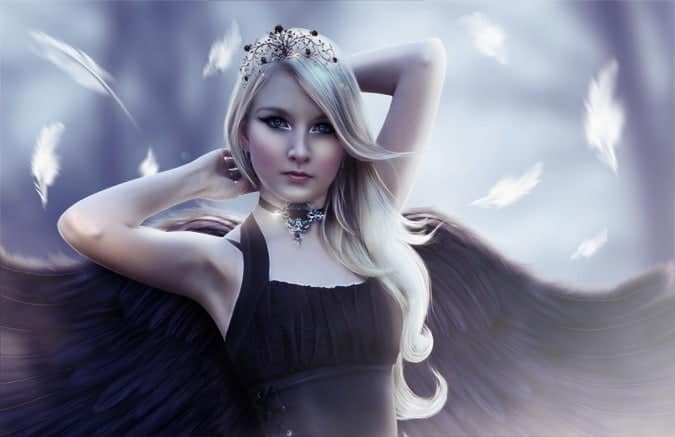
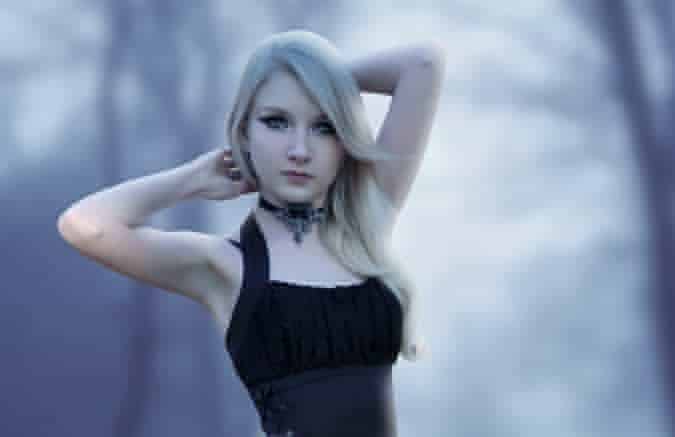
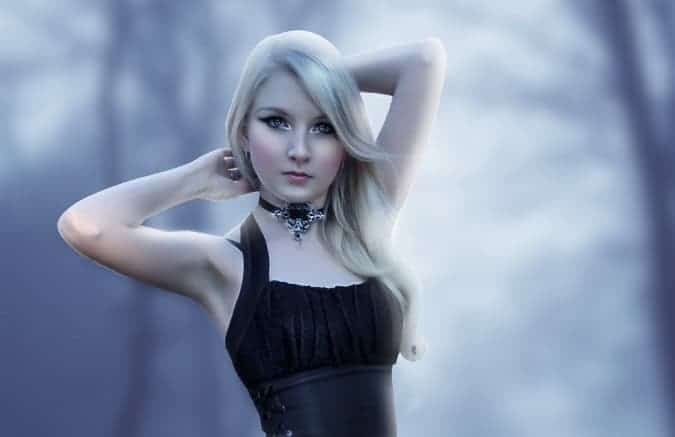
| How to Create an Emotional Photo Manipulation of an Angel Posted: 14 Aug 2012 11:42 PM PDT Preview of Final Result
Emotional Photo Manipulation of an Angel Photoshop TutorialTutorial Resources
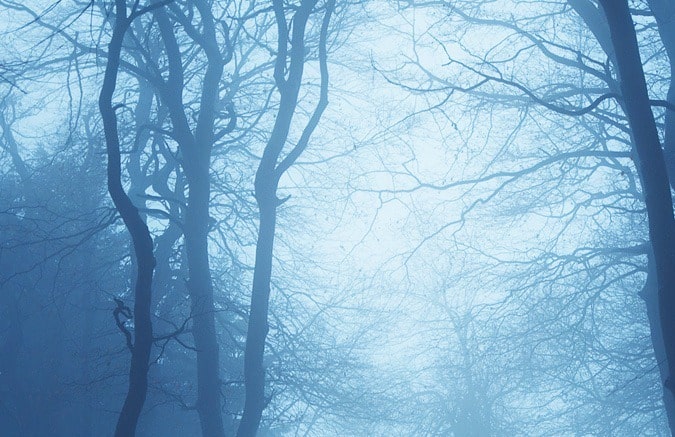
Step 1Place a part of your background image as shown below.
Step 2Go to Filter>Blur>gaussian blur and choose the desired value.
Step 3Add the adjustment layers below: Hue/Saturation 0 -38 0
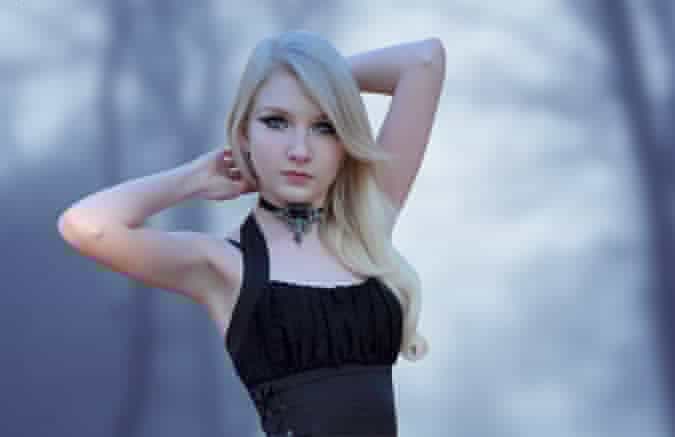
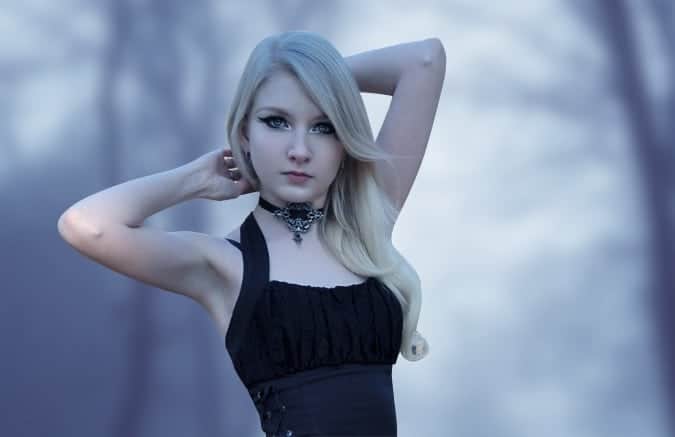
Step 4Now working with the model. Place your model’s image where you want or as shown here.
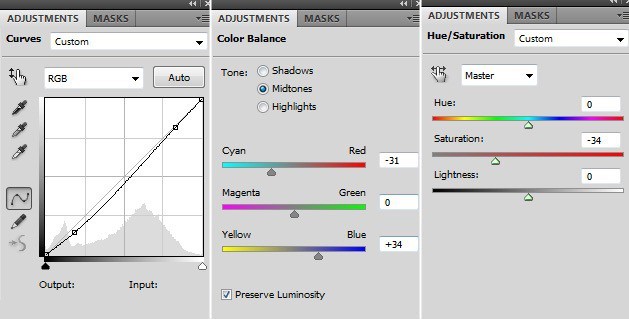
Step 5Add layer masks to the model’s layer as shown below. Tip: You can add those masks by pressing Ctrl+Alt+G or simply press Alt between each 2 layers on the layers palette. Make sure they are with the same order (Curves, Color balance, Hue/saturation).
Step 6This will be the result.
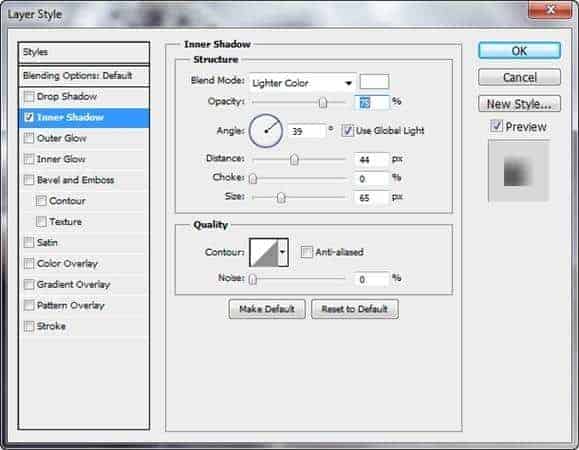
Step 7Select the model’s layer and go to layer>layer style>Inner shadow and apply the values shown below.
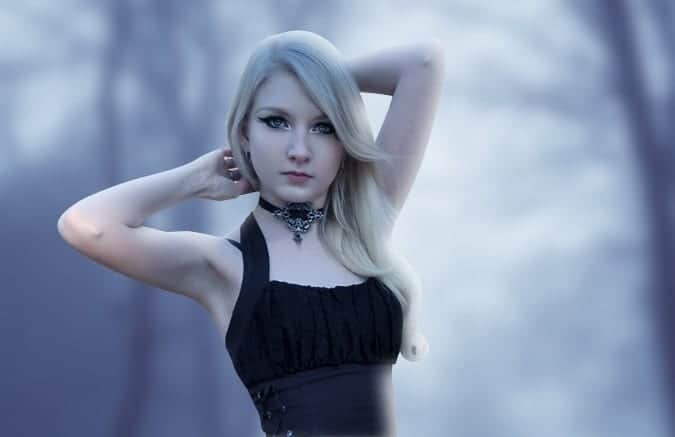
Step 8This is how it should look like. You can also try inner glow. Those two ways will soften the hard edges of the model.
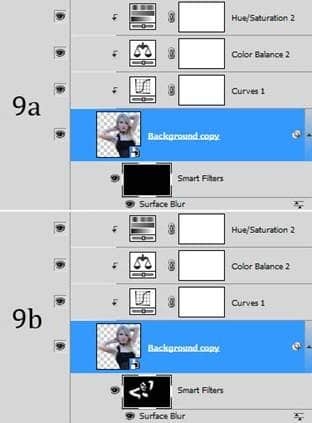
Step 9Convert the model’s layer into a smart object by right clicking on the layer of the model and selecting convert to smart object. Tip1: If white was your background color and black was your foreground color select Alt+backspace. Select the brush tool and paint with white the hands and parts of the face.
Step 10This is how it should look like.
Step 11Using a Graphics tablet I painted with white some edges on her arms and shoulder.
Step 12Most artists use dodging and burning for the model’s face, body and clothes, but I use a normal brush to make shadows and highlights. Tip: To be faster play with the brush size with “[" and "]” and the hardness with “shift+[" and "shift+]“ We will be using black to make the shadows and white for the highlights. Set the layer blending mode to soft light.
|
| You are subscribed to email updates from Photoshop Tutorials To stop receiving these emails, you may unsubscribe now. | Email delivery powered by Google |
| Google Inc., 20 West Kinzie, Chicago IL USA 60610 | |




No comments:
Post a Comment