Photoshop Tutorials: Create a Photo Manipulation of an Angel Holding a Torch |  |
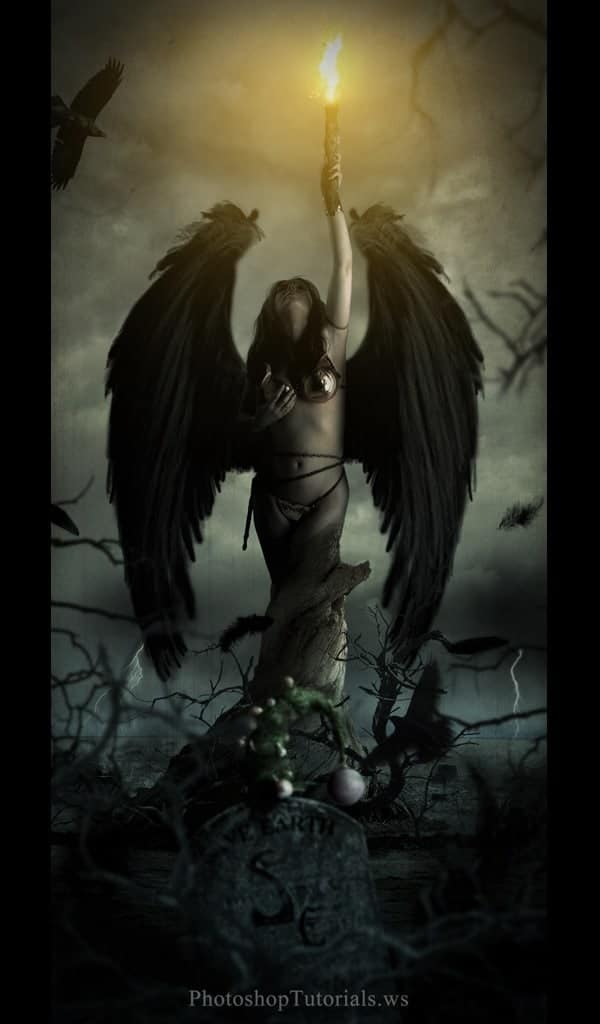
| Create a Photo Manipulation of an Angel Holding a Torch Posted: 27 Aug 2012 01:27 PM PDT Preview of Final Results
Angel Torch Photoshop TutorialResources
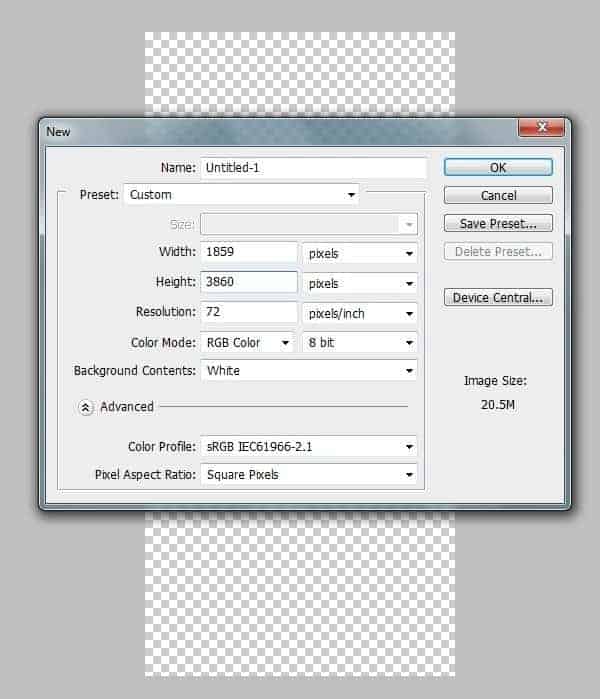
Step 1Create a new canvas with the dimensions Width=1859px and Height=3860.
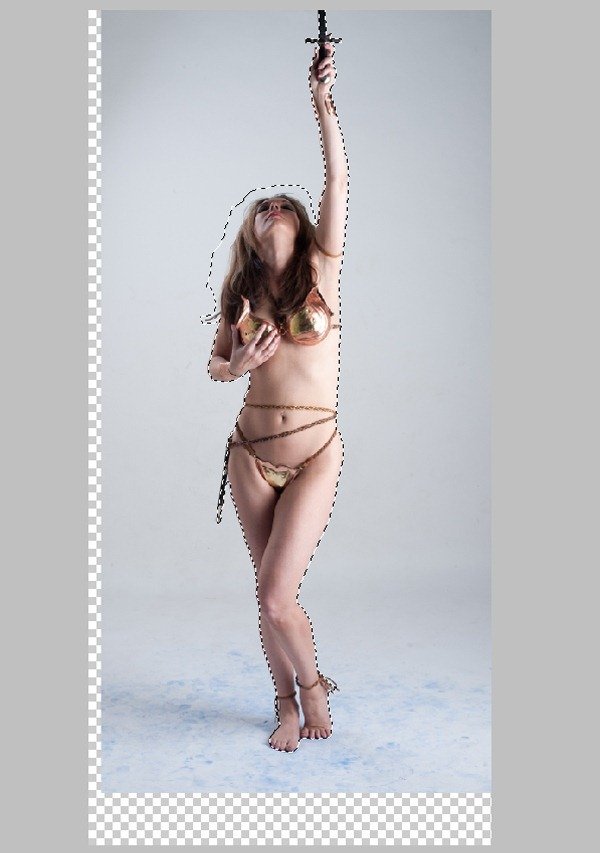
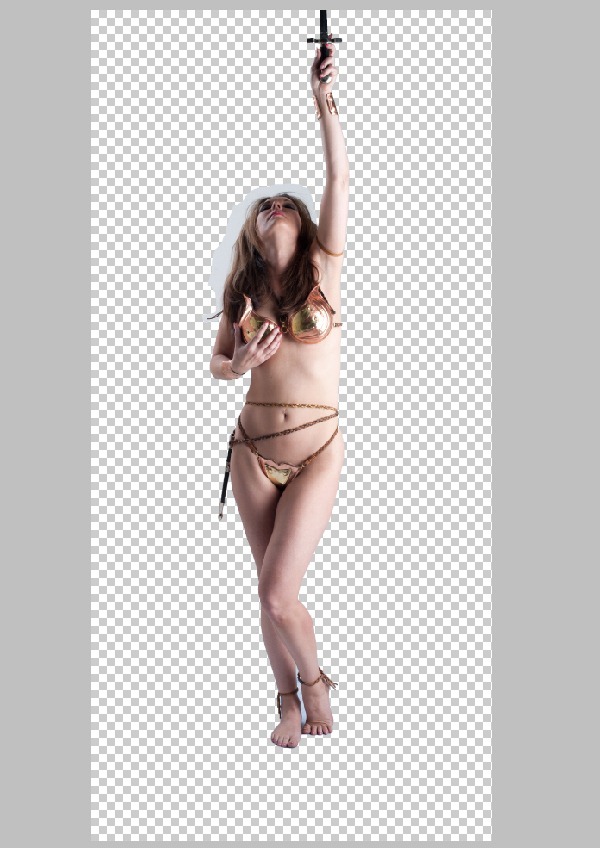
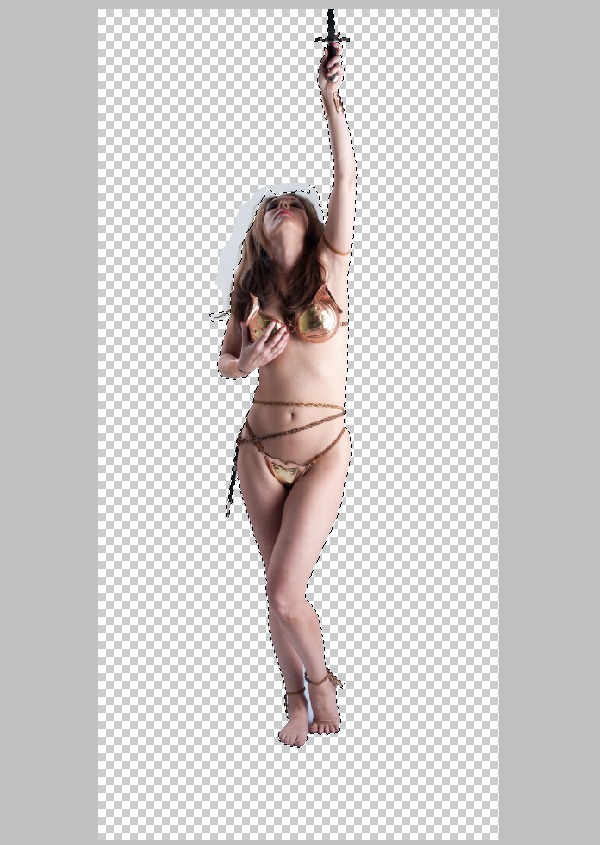
Step 2Import the image of the Woman on to the canvas and create a mask around her body. Select the mask around the hair very roughly as shown. Then separate the selection into a new layer.
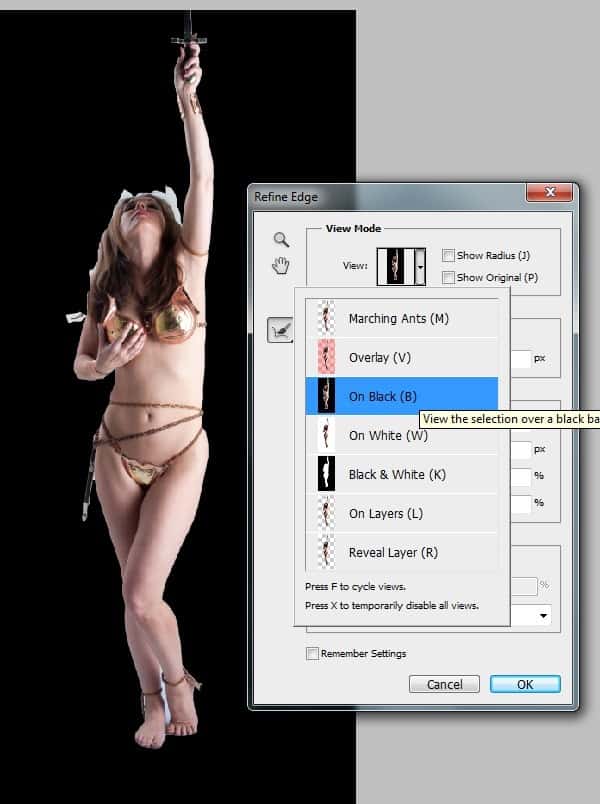
Step 3In this step we are going to us the Refine Edge Tool to mask out the hair of the women with every detail.
2) Now select the Refine Edge from Select>Refine Edge and select the On Black (B) from the View drop down list for a better view of the edge details.
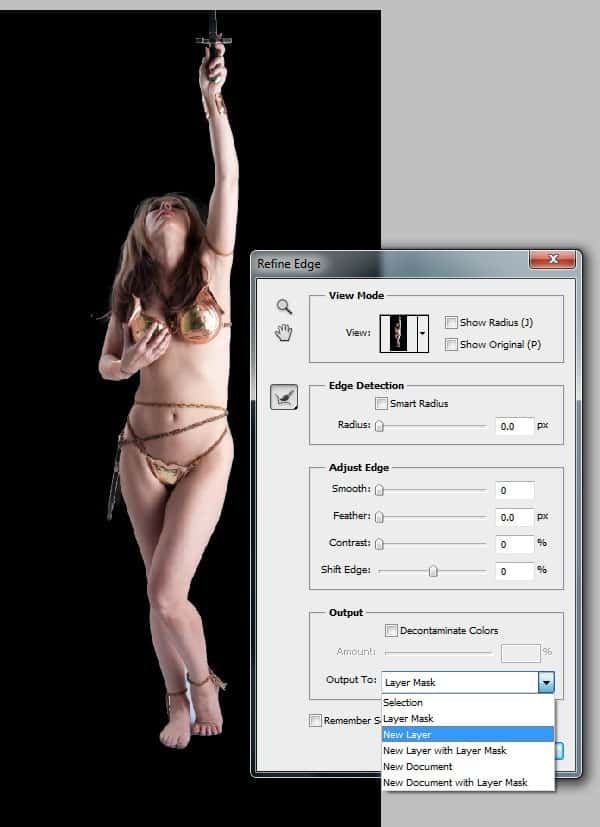
3) Now by using the Refine Radius Tool graze the edges of the hair and select New Layer from the drop down list of ‘Output To’ and press OK to see the magic of the tool.
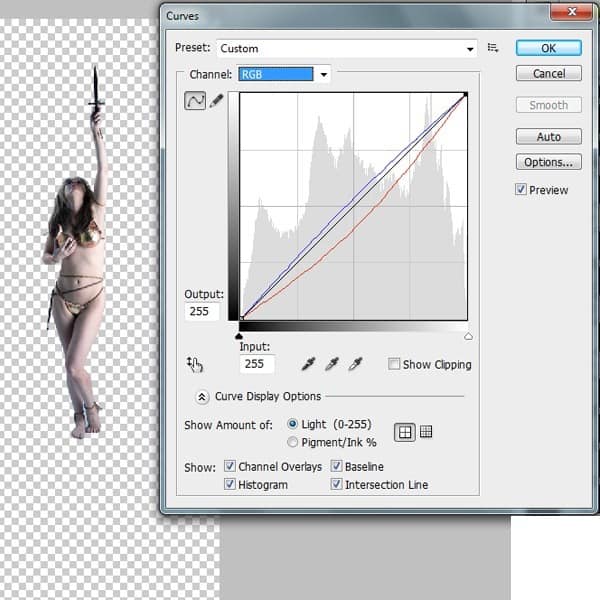
Step 4In this step we are going to color correct the image of the women.
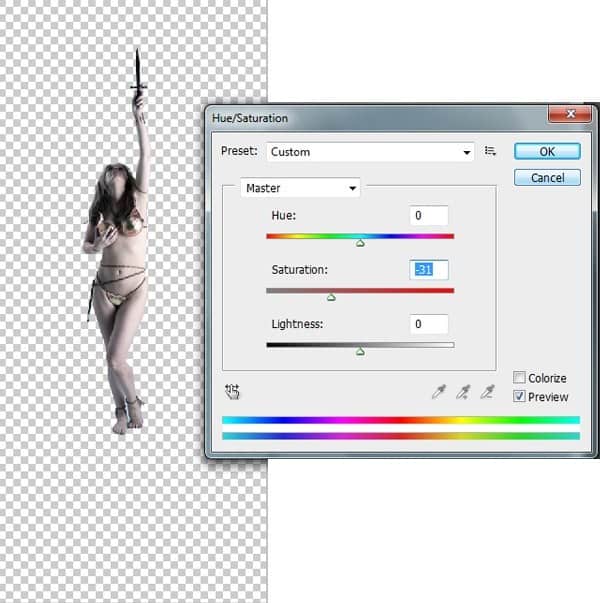
2) Now by using the Hue/Saturation De-Saturate the image to -31.
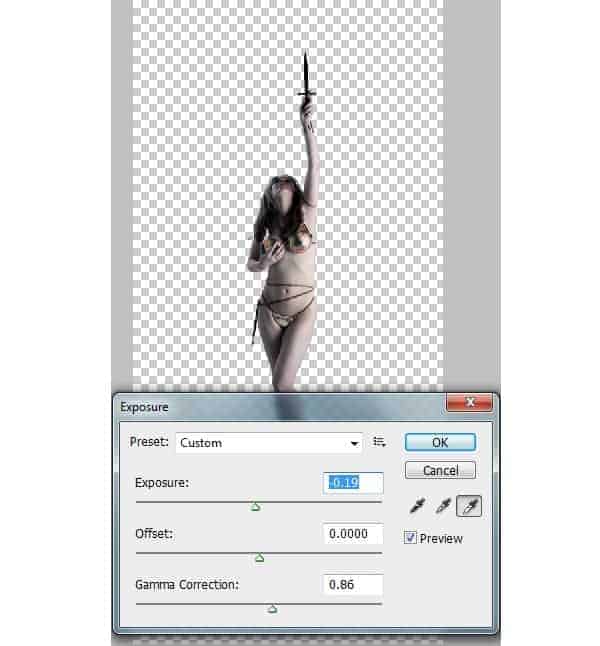
3) To enhance the dark shadows on the women go to Image>Adjustments>Exposure and set the Exposure=-0.19 and Gamma Correction=0.86.
Step 5In this step we are going to create a tree bark in such a way to illustrate the women evolving from it.
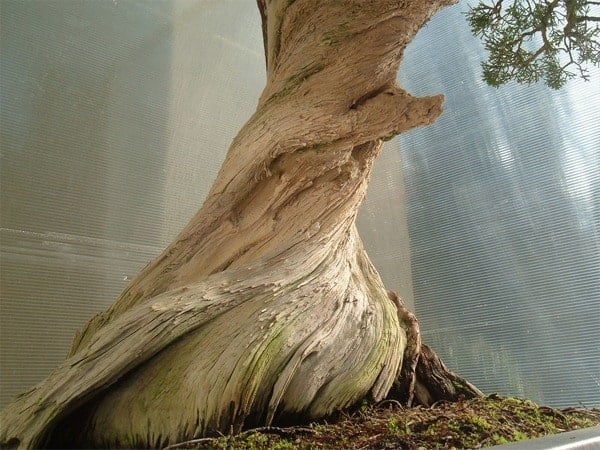
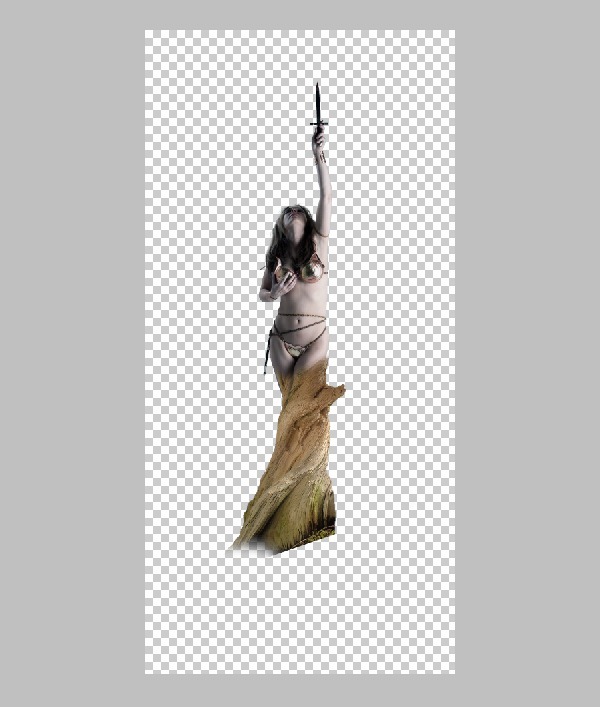
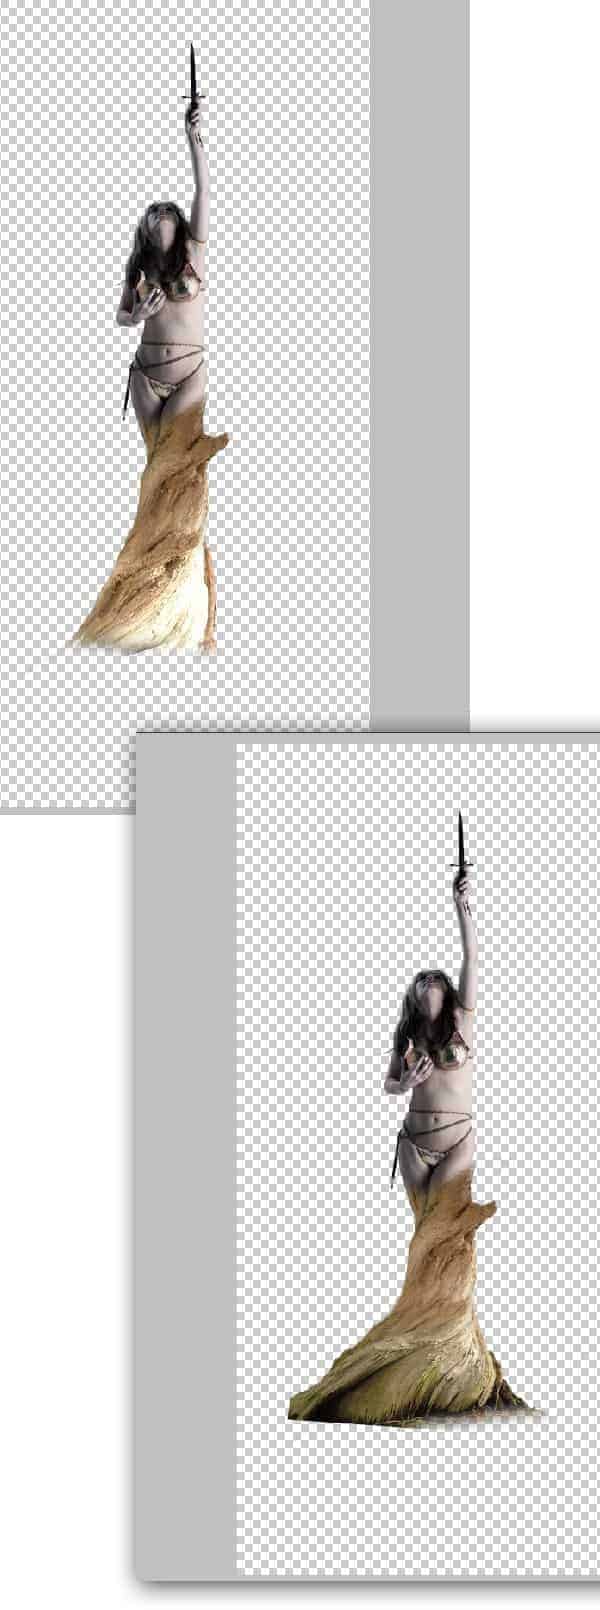
2) Now import the bark on to the working canvas and place it on the legs of the women as shown. Then erase the top end of the bark with Soft Round Brush.
3) Similarly import the bark again and complete the bark as shown.
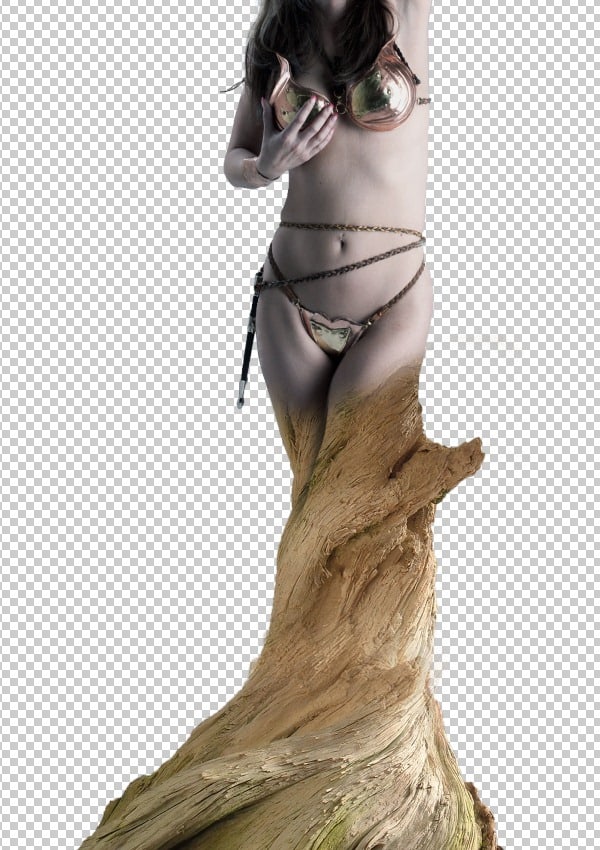
Step 6Since the woman is evolving from the bark we must show the semi evolution effect at the point of evolution.
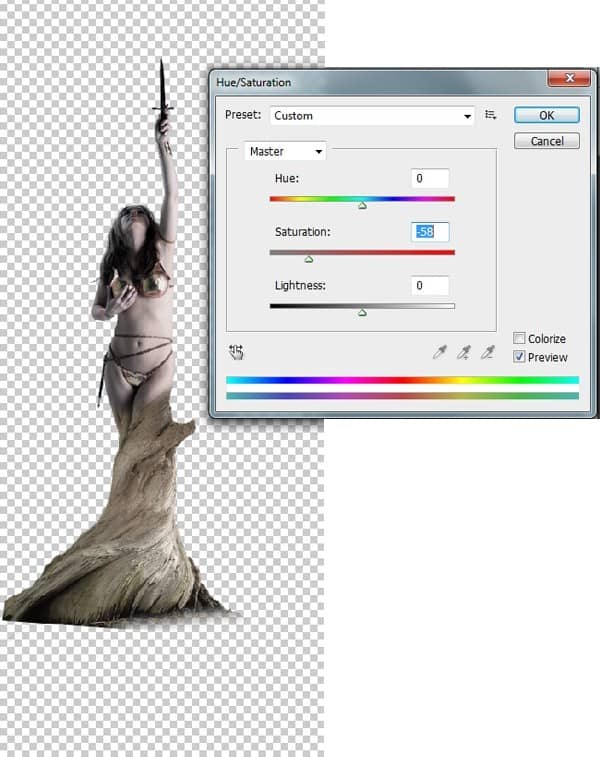
Step 7Now we need to color correct the bark in-order to blend with the women. 1) Merge the entire bark layer and go to Image>Adjustments>Hue/Saturation and de-saturate the image to -58.
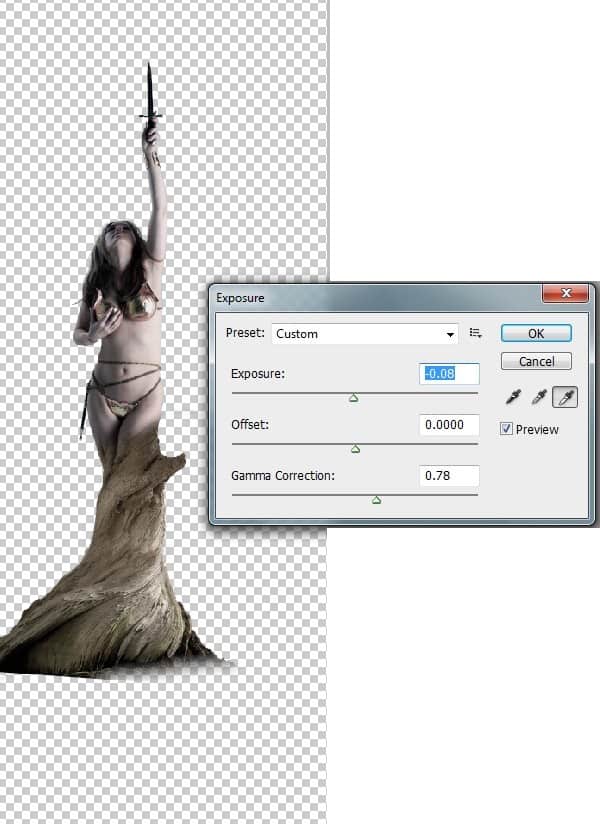
2) Nowby using the Exposure Set Exposure=-0.08 and Gamma correction=0.78 to enhance the shadows on the bark.
|
| You are subscribed to email updates from Photoshop Tutorials To stop receiving these emails, you may unsubscribe now. | Email delivery powered by Google |
| Google Inc., 20 West Kinzie, Chicago IL USA 60610 | |

No comments:
Post a Comment